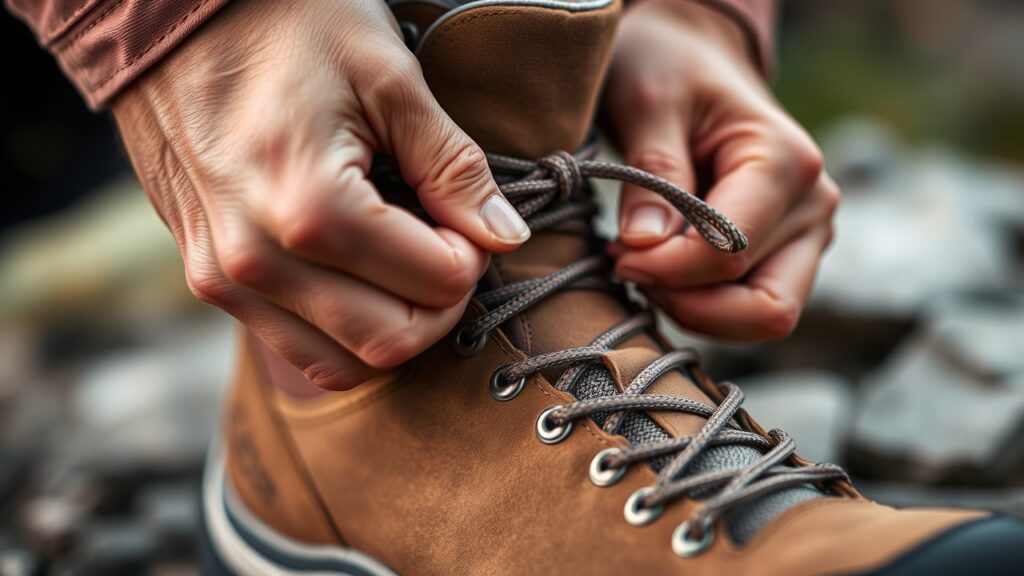
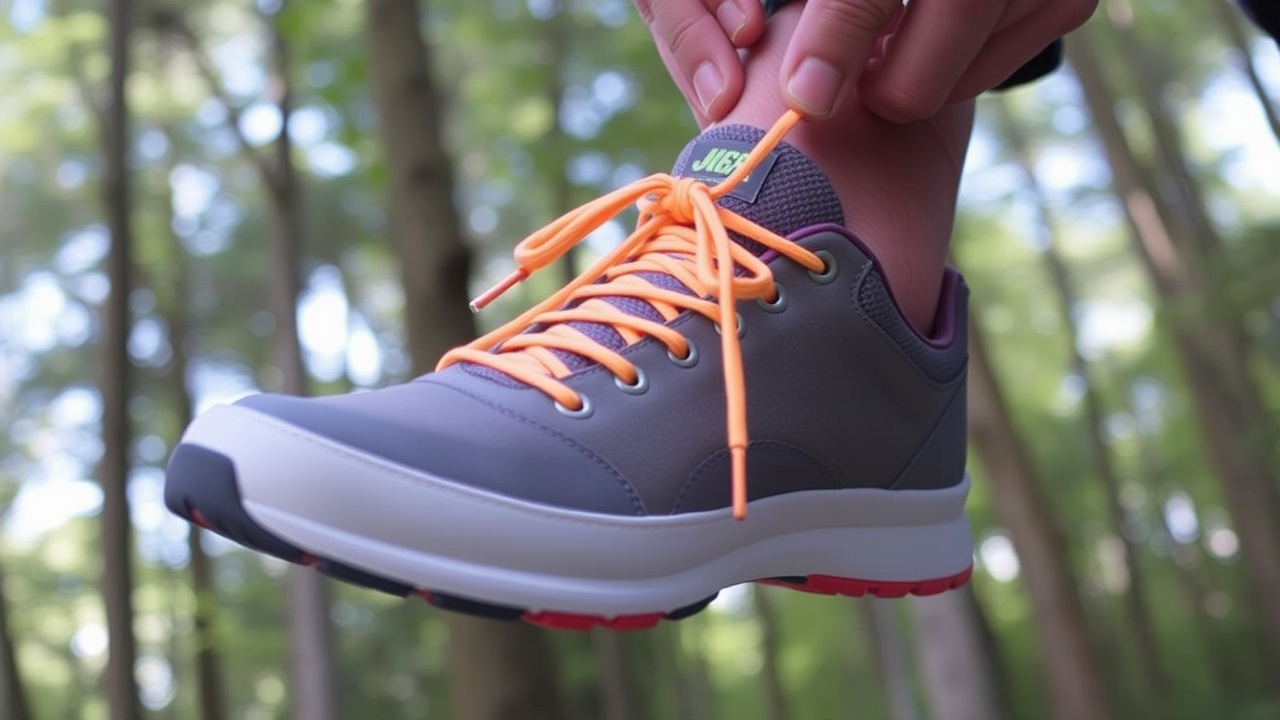
Hiking is one of the most exhilarating ways to connect with nature, challenge your endurance, and enjoy the great outdoors. However, your hiking experience can be significantly impacted if your footwear needs to be properly laced. This comprehensive guide explores why you must lace up your hiking shoes properly, the best techniques to prevent blisters and discomfort, and how to achieve a secure fit for any hiking adventure.
Lace Up Your Hiking Shoes: The Ultimate Guide to Perfect Fit and Comfort
Why Proper Lacing Matters?
When you lace up your hiking shoes correctly, you ensure more than a secure fit. Proper lacing can:
- Prevent blisters by minimizing friction and pressure points.
- Reduce foot fatigue during long treks.
- Enhance stability on uneven terrain.
- Improve circulation by avoiding excessive pressure across the top of your foot.
- Protect your toenails by preventing your foot from sliding forward in the shoe.
If you’ve ever struggled with blisters, toe pain, or discomfort while hiking, it’s time to rethink how you lace your hiking boots.
The Anatomy of Hiking Footwear
Before diving into lacing techniques, let’s understand the key parts of your hiking footwear:
- Eyelets: The holes or hooks where you run your laces.
- Toe Box: The front part of the shoe that houses your toes.
- Heel Lock: A technique or design feature that helps secure your heel.
- Instep: The top of your foot between the toes and the ankle.
Knowing these components will help you understand how different lacing techniques work.
Top Lacing Techniques to Enhance Comfort and Fit

Surgeon’s Knot for Heel Lock
The surgeon’s knot is perfect for hikers who experience heel slippage. Here’s how to do it:
- Start lacing your shoe as normal until you reach the point below the top eyelets.
- Run each lace through the next eyelet to create two loops.
- Cross the laces and tie a standard overhand knot.
- Pull the laces tightly to cinch the loops securely.
This technique keeps your heel securely in place, reducing friction and preventing blisters.
Window Lacing for Pressure Points
If you feel excessive pressure on the top of your foot, window lacing can alleviate discomfort:
- Lace-up the shoe normally until you reach the pressure point.
- Skip the eyelets over the sensitive area and run each lace straight to the next available eyelet.
- Continue lacing as normal.
This method removes pressure across the top of your foot, making it ideal for high arches or bunions.
Crisscross Lacing for Standard Fit
The classic crisscross method is simple yet effective for most hikers:
- Start at the bottom eyelets and cross the laces over each other as you move upward.
- Feed the lace back through the next eyelet.
- Continue until you reach the top of the boot.
This technique ensures even pressure distribution and a snug fit for standard hiking needs.
Toe-Relief Lacing for Toe Pain
Hikers with toe pain or black toenails can benefit from toe-relief lacing:
- Start lacing your shoe as normal.
- When you reach the toe box, skip the first set of eyelets.
- Run each lace straight to the next eyelet or hook.
This method provides extra room in the toe box, preventing pressure on your toes.
Two-Zone Lacing for Multi-Terrain Hikes
For hikes that involve varying terrain, two-zone lacing can be a game changer:
- Divide your shoe into the lower part (toe box to instep) and the upper part (ankle).
- Use a surgeon’s knot at the instep to secure the lower zone.
- Adjust the tightness of the upper zone separately to accommodate ankle movement.
This technique provides a customized fit for both comfort and stability.
Tips for Lacing Different Types of Hiking Footwear
Low-Cut Shoes
Low-cut hiking shoes are ideal for shorter treks or running on trails. Use crisscross lacing for even pressure and a secure fit, and add a double knot to ensure the laces won’t come undone.
Mid-Cut and High-Cut Boots
These boots offer better ankle support, especially for backpackers. Heel lock lacing techniques work best to keep your foot securely in place and prevent excessive pressure on your ankle.
Wide or Narrow Feet
For hikers with wide feet, loosen the laces across the forefoot and use window lacing to relieve pressure. For narrow feet, use lacing techniques that cinch the shoe tightly, such as a double knot or crossing the laces twice.
Common Lacing Mistakes to Avoid
- Skipping a Heel Lock: Your foot may slide forward without a secure heel, causing blisters or toe pain.
- Tying Too Tightly: Overly tight laces can reduce circulation and create pressure points.
- Ignoring Hot Spots: If you feel a hot spot while hiking, stop and adjust your laces immediately to prevent blisters.
- Using Worn Laces: Old, frayed laces won’t stay tied and can break mid-hike. Always replace them with durable round laces designed for hiking boots.
How to Choose the Right Laces for Your Hiking Boots
Not all laces are created equal. Here are some factors to consider:
- Material: Nylon laces are durable and weather-resistant, while cotton laces are more prone to wear and tear.
- Length: Choose laces that match the number of eyelets on your boots.
- Shape: Round laces are less likely to come undone, while flat laces provide a snug fit but may loosen over time.
Testing Your Lacing for the Perfect Fit
After lacing your hiking footwear, perform these quick tests:
- Heel Test: Walk a few steps to ensure your heel doesn’t lift more than a quarter-inch.
- Toe Wiggle: Make sure there’s enough room in the toe box for your toes to move freely.
- Pressure Check: Ensure no excessive pressure across the top of your foot or around the ankle.
Pro Tips for Maintaining Your Hiking Footwear
- Clean Your Boots: Remove dirt and debris from the eyelets and laces after every hike to prolong their lifespan.
- Replace Worn Laces: Always carry a spare pair of laces on long treks.
- Break In New Boots: Before embarking on a long hike, wear your new boots with proper lacing to break them in.
Conclusion
Lacing up your hiking shoes might seem minor, but it’s critical to ensuring a comfortable and enjoyable outdoor adventure. Whether tackling a multi-day trek or a short nature walk, the right lacing technique can make all the difference. Experiment with these methods to find the best fit for your feet, and remember to replace worn laces for optimal performance. Lace up your hiking shoes correctly, and get ready to conquer the trails confidently!


